

Getting connected the moment you land abroad is not optional. You need data to navigate, contact your landlord, book a ride, and access your bank. The good news: setting up phone and internet abroad is straightforward when you follow a tiered approach. Start with a travel eSIM for instant arrival connectivity, move to a local SIM within the first week, and arrange home broadband as soon as your lease is signed.
Your first steps to get connected when you arrive abroad
The priority order matters here. Do not wait until you are standing in an unfamiliar airport with no signal to figure out your connectivity plan.
- Get an eSIM before you fly. Travel eSIMs from Airalo, Holafly, or Nomad can be installed in about 10 minutes and activate instantly on arrival, with no physical SIM swap required. Install the profile at home on reliable Wi-Fi, then activate it when you land.
- Confirm your phone is unlocked. The FCC advises contacting your US carrier before departure to unlock your device. Without this step, neither a local SIM nor a foreign eSIM will work.
- Use US carrier roaming only as a bridge. Roaming is convenient for arrival day, but domestic US plans typically do not cover usage abroad, and rates on foreign networks are considerably higher. Switch off roaming as soon as your eSIM or local SIM is active.
- Get a local number within the first week. A local phone number is often required to open a bank account, arrange apartment viewings, and set up utilities. Treat it as a top-five priority alongside housing and registration.
- Start the home internet process immediately. Fiber installation can take several days to a few weeks depending on the country and local infrastructure. Request it in week one so you are not tethering into week three.
Tip: Pack a portable Wi-Fi hotspot or have a secondary eSIM ready as a backup. Coverage gaps are common in the first days, and a hotspot keeps your laptop connected when your primary SIM signal drops.
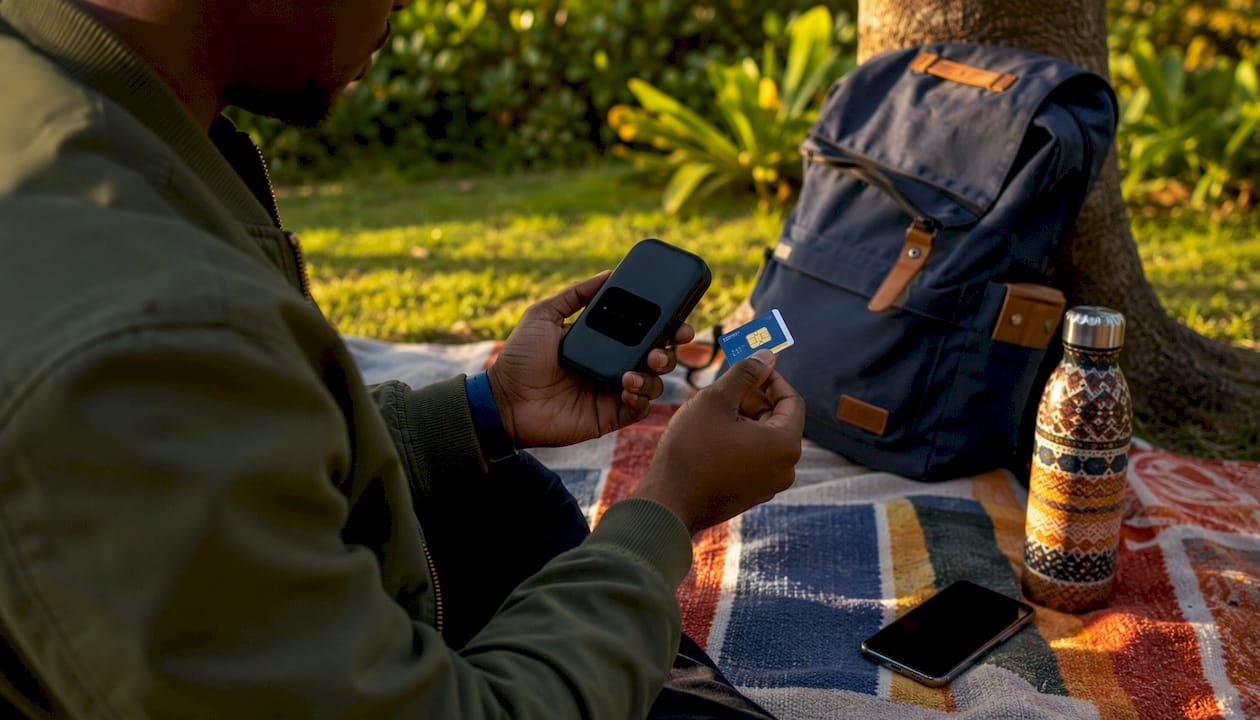
How to set up your phone abroad: eSIMs, local SIMs, and your US number
Understanding eSIMs vs. physical SIMs
An eSIM is a digital SIM card embedded in your phone. Instead of visiting a store and swapping a plastic card, you download a carrier profile through an app or QR code. Airalo, Holafly, and Nomad all offer destination-specific data plans this way. The catch: not every phone supports eSIM, so verify your exact model and operating system version before relying on it.
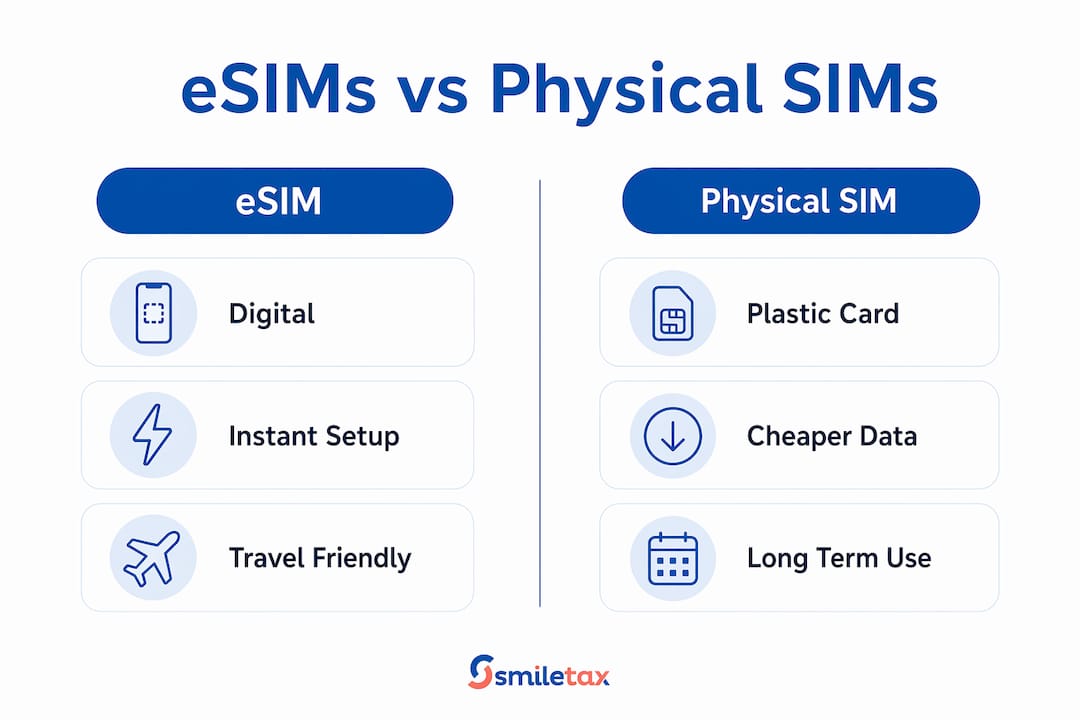
A physical local SIM is the better long-term choice for most expats. It is cheaper per gigabyte than a travel eSIM, can be topped up with cash at convenience stores, and, critically, a SIM tied to your passport often serves as your first form of local ID verification before your residence permit arrives. Banks, delivery apps, and landlords frequently require a local voice number, and a foreign-issued eSIM number may not pass that check.
What to do with your US number
You have three realistic options:
- Keep it on a minimal plan. Google Fi works in many countries and keeps your US number active at a manageable monthly cost.
- Port to Google Voice. Free for domestic calls and texts, works over Wi-Fi internationally. Most long-term expats find this the best balance of cost and convenience.
- Cancel entirely. Only practical once you are confident your local number covers every account and contact that previously used your US number.
Whatever you choose, handle it before you leave. Changing your number after arrival creates a cascade of account-access problems.
Tip: Switch two-factor authentication from SMS codes to an app-based authenticator like Google Authenticator, Authy, or 1Password before your US number stops working. Losing SMS-based 2FA access is the single most common digital mistake expats make.
Choosing a local carrier and getting home internet sorted
Picking the right local mobile carrier
Walk into a carrier store on day one or two, passport in hand. In most countries, passport registration is mandatory to activate a SIM. Ask specifically for a local plan rather than a tourist package at the arrivals counter; the regular queue almost always offers better value. Look for a plan with a generous data allowance and hotspot tethering enabled, since you will likely be using your phone as a mobile router until home broadband is installed.
Regional variations matter. Requirements and pricing differ significantly by country, so checking with neighbors or expat forums before you arrive gives you a realistic picture of costs and which carriers have the best coverage in your specific neighborhood.
Setting up home internet
Home internet installation requires a signed landlord authorization letter plus your tenancy contract to open a service contract in your name, as explained in this expat permanent home ownership guide. This is the step that catches most new arrivals off guard. If your landlord is slow to respond, your installation date slides with them. Contact your landlord about internet setup on the same day you sign the lease.
Ask upfront whether the apartment already has an active fiber line. A reused connection can activate in a day; a brand-new fiber drop from the street can take two weeks or more. Installation timelines vary by location, with shorter times in well-connected cities and longer periods in areas with slower infrastructure rollout.
Budget separately for setup costs. Installation fees, utility deposits, and the first month of service often arrive together as a lump sum before your local bank account is fully operational. Factoring these hidden moving costs into your arrival budget prevents a stressful surprise.
Tip: Ask a neighbor or your landlord what a typical monthly internet bill looks like before you sign. Fiber broadband prices vary widely by region; in some parts of Southeast Asia, affordable options are available for high speeds. A real number from someone in the building beats any estimate from a listing site.
How to stay reachable during the transition period
The gap between landing and having stable home broadband is the most vulnerable stretch for connectivity. A tiered plan keeps you covered throughout.
Layer 1: eSIM for arrival. Activate your pre-installed eSIM before leaving the airport. Test data, maps, and your messaging apps while you still have airport Wi-Fi as a fallback.
Layer 2: Local SIM for daily use. Buy a physical SIM within the first 48 hours. This becomes your primary line for calls, local verification, and data once you have confirmed it works in your neighborhood.
Layer 3: Backup for gaps. Portable Wi-Fi devices and secondary eSIMs serve as reliable backups when your primary connection fails or has poor indoor coverage. Keep at least one backup option active until home broadband is confirmed and stable.
A few practical steps that make the transition smoother:
- Forward your US number to Google Voice or a VoIP service so important calls and texts still reach you.
- Download offline maps for your destination city in Google Maps before you fly. Your first hours in a new city may involve spotty coverage, and offline maps prevent real problems.
- Save your carrier’s activation instructions, your landlord’s contact, and your apartment address as screenshots. Do not assume you will have data when you need them most.
- Test your banking app login from your new connection before you actually need to access money. Some US banks flag logins from foreign IP addresses.
Opening a bank account abroad also depends on having a working local number, which is one more reason to treat phone setup as a day-one task rather than something to sort out later.
Tip: Download local ride-hailing apps, food delivery platforms, and a translation app with offline language packs while you still have reliable Wi-Fi. Having these ready before you need them removes a lot of friction from the first week.
SmileTax is here for Americans building a life abroad
Getting connected is just one piece of the expat puzzle. Americans living overseas also navigate banking, housing, healthcare, and a long list of administrative tasks that look different in every country. SmileTax works specifically with US citizens abroad, from international teachers and NGO professionals to retirees and long-term expats, providing personal, responsive support from experienced professionals who understand how expat life actually works.
No handoffs to unknown preparers. No generic software. Just real help from people who know your situation. Visit smile.tax to learn how SmileTax supports Americans wherever they are living.
Key takeaways
A tiered connectivity strategy combining a travel eSIM for arrival, a local SIM for daily use, and a backup hotspot gives American expats the most reliable path to staying connected from day one abroad.
| Point | Details |
|---|---|
| Start with a travel eSIM | Airalo, Holafly, and Nomad eSIMs install in about 10 minutes and activate on arrival. |
| Unlock your phone before departure | The FCC advises contacting your US carrier to unlock your device before you travel. |
| Get a local SIM within the first week | A local number is often required to open a bank account and arrange essential services. |
| Budget for internet installation delays | Home broadband installation typically takes from 5 to 21 days, depending on country and local infrastructure; landlord authorization is the most common bottleneck. |
| SmileTax supports expats abroad | SmileTax provides personal, professional support for US citizens living and working overseas. |